In short
To cancel unused subscriptions quickly, first list every recurring charge by checking your phone's app store subscriptions page, your PayPal automatic payments, and the last two or three months of bank and card statements. Then cancel each one where it is billed, which is usually Apple, Google Play, Amazon, PayPal, or the company's own website. The whole sweep takes about 15 minutes if you work from a list and cancel in batches.
Most people do not lose money on subscriptions because of one expensive plan. They lose it on several small ones: a photo editor used once for a birthday card, a meditation app from a January resolution, a streaming add-on bought for a single series. Each charge looks too small to bother with, so it keeps renewing.
A subscription, in this context, is any service that bills you automatically on a schedule, usually monthly or yearly, until you stop it. An unused subscription is one you are still paying for but have not opened in the last 30 to 60 days. The goal of this guide is simple: find all of them and cancel the right ones in a single sitting of about 15 minutes.
I have tracked consumer software pricing for more than a decade, and the pattern is consistent. The hard part is not cancelling. The hard part is finding everything, because charges are spread across several billing sources. Once you know where to look, the rest is quick.
Why are unused subscriptions so hard to spot?
Subscriptions hide for three practical reasons.
- Split billing sources. One app may bill through Apple, another through Google Play, a third directly to your card, and a fourth through PayPal. No single screen shows all of them.
- Vague statement names. A bank statement might show a parent company name or a payment processor rather than the app you recognise.
- Free trials that convert. A free trial is a short period of free access that turns into a paid plan automatically unless you cancel before it ends. Many people sign up, forget, and only notice months later.
Annual plans add another layer. If you pay once a year, the charge appears on a single statement and is easy to miss when you skim the other eleven.
Where should you look for recurring charges?
Think of this as checking every door a subscription could come through. A billing source is the company that actually takes your money, which is not always the company that makes the app. That distinction matters, because you must cancel at the billing source.
Your phone's app store
This is the fastest place to start and usually catches the most app subscriptions.
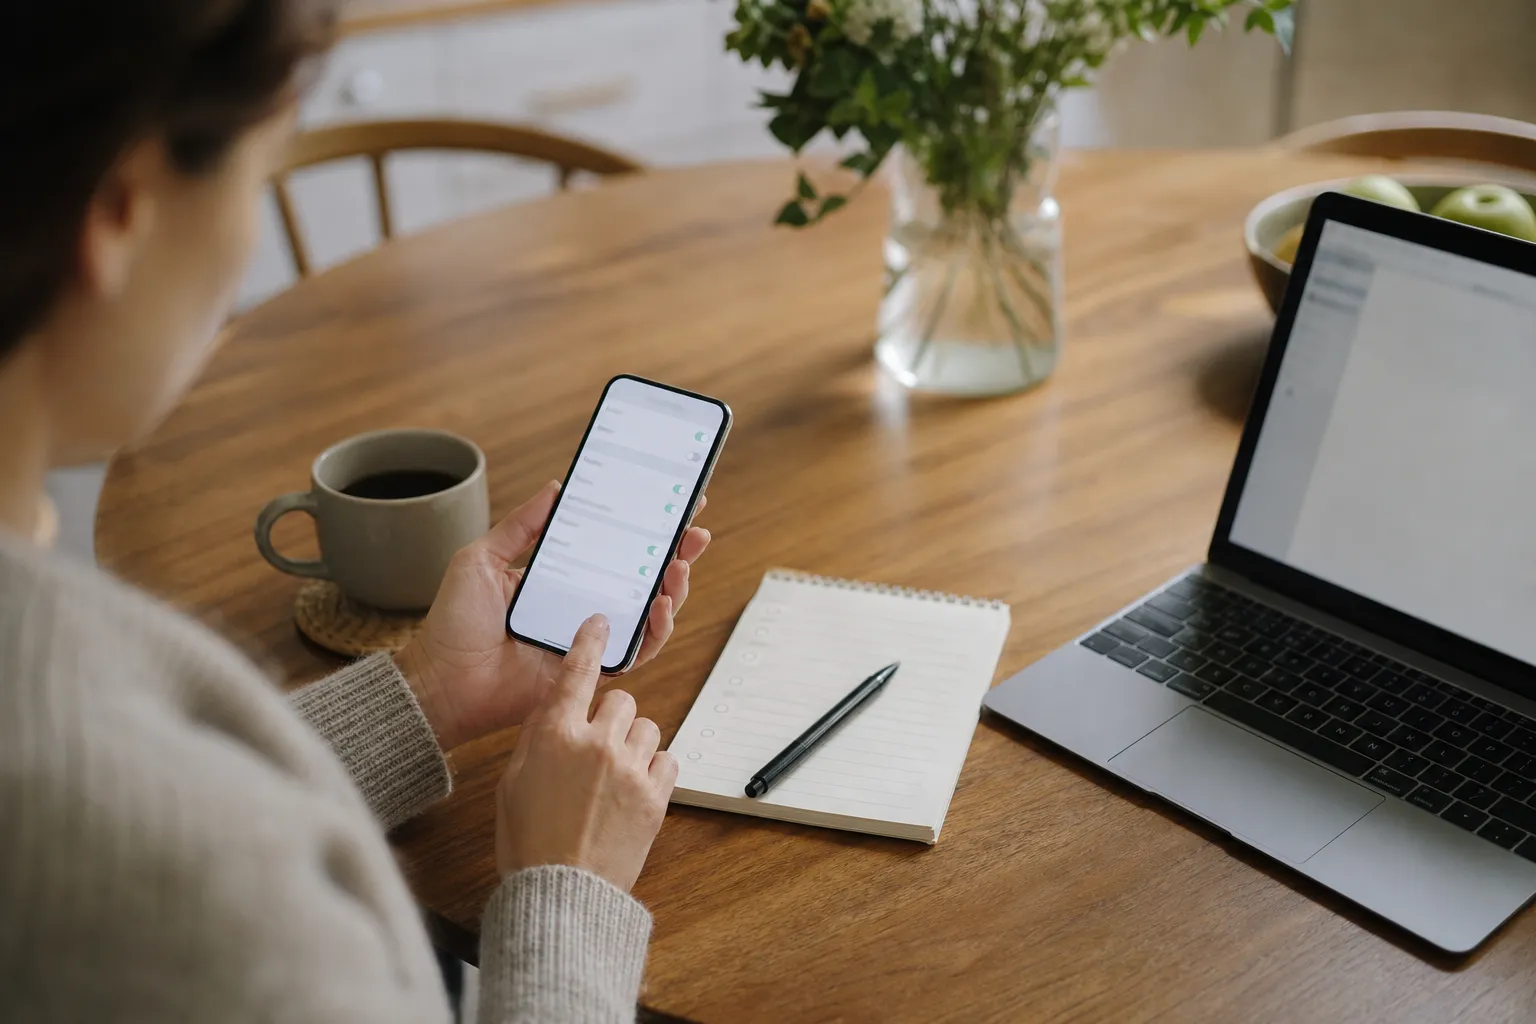
- iPhone and iPad: open Settings, tap your name at the top, then tap Subscriptions. You will see active and expired plans with renewal dates.
- Android: open the Google Play Store app, tap your profile icon, then Payments & subscriptions, then Subscriptions.
Your computer's app store
- Mac: open the App Store, click your name or account, open Account Settings, and find Subscriptions, then click Manage.
- Windows: sign in to your Microsoft account online and open the Services and subscriptions section.
Marketplaces and payment services
- Amazon: go to Your Account and open Memberships and Subscriptions. This covers channel add-ons in Prime Video, Kindle Unlimited, and similar services.
- PayPal: open Settings, then Payments, then Manage automatic payments. Any merchant listed here can charge you again.
Bank and card statements
Anything billed directly to your card will only show up here. Open your banking app and scroll through the last 90 days. Many banks and card issuers now group repeat payments under a recurring or upcoming payments view, which saves time. If yours does not, search the transaction list for words like subscription, monthly, and premium.
Your email inbox
Search for receipt, renewal, your subscription, trial ending, and invoice. This catches annual plans and services billed under unfamiliar company names.
How do you do it all in 15 minutes?
The trick is to separate finding from deciding and deciding from cancelling. Here is a timed plan that works for most people. The minute counts are practical estimates and will vary with how many accounts you have.
- Minutes 1 to 3: phone app store. Open your subscriptions page and write each active plan on a single list, with price and renewal date.
- Minutes 4 to 5: computer app store and Amazon. Add anything new to the list.
- Minutes 6 to 7: PayPal automatic payments. Add every active merchant.
- Minutes 8 to 10: bank and card statements. Scan 90 days of transactions for repeat charges you have not already listed.
- Minute 11: email search. Run the receipt and renewal searches to catch annual plans.
- Minute 12: decide. Mark each item keep, cancel, or downgrade.
- Minutes 13 to 15: cancel. Work through the cancel column, grouped by billing source, so you stay inside one app or website at a time.
A plain note on your phone is enough for the list. A spreadsheet works too if you want to track totals over time.
Which subscriptions should you cancel, keep, or downgrade?
Use a quick rule rather than agonising over each one. Ask two questions: have I used this in the last 30 days, and would I pay for it again today at this price? If the answer to both is no, cancel it.
Some cases need more thought:
- Overlapping services. Two cloud storage plans, two music services, or three streaming platforms often overlap. Keep the one you use most.
- Plans you use seasonally. A streaming service you only want for one sport or one show can be cancelled now and restarted later. Rotating services this way usually costs less than holding them all year.
- Plans with a cheaper tier. Many apps offer an ad supported tier, a single user plan, or a lower storage tier. A downgrade keeps the service but at a lower price.
- Annual plans mid term. Cancelling usually stops the next renewal rather than refunding the current year. Cancel now anyway so you do not forget before the renewal date.
A useful test: if the app disappeared from your phone tomorrow, would you notice within a week? If not, it is a cancellation candidate.
How do you cancel at each billing source?
Cancelling inside the app itself often does nothing. Deleting an app from your phone almost never stops billing. You need to cancel where the charge originates. The table below summarises where to go.
| Billing source | Where to cancel | What to watch for |
|---|---|---|
| Apple (iPhone, iPad, Mac) | Settings, your name, Subscriptions, then Cancel Subscription | Access usually continues until the end of the paid period |
| Google Play | Play Store, profile icon, Payments & subscriptions, Subscriptions | Check each Google account if you use more than one |
| Amazon | Your Account, Memberships and Subscriptions | Prime Video channels are listed separately from Prime itself |
| PayPal | Settings, Payments, Manage automatic payments | Stopping in PayPal may not close your account with the merchant |
| Direct card billing | The company's website, under account or billing settings | Save the cancellation confirmation email |
| Microsoft | Microsoft account online, Services and subscriptions | Turn off recurring billing, not just the product |
When the company makes cancelling hard
Some services bury the cancel button or push retention offers. Look for links labelled manage plan, billing, or membership in account settings. If you are offered a discount to stay, decide using the same two questions as before. If you cannot find any way to cancel online, contact support in writing and keep the reply. As a last resort, your bank or card issuer may be able to block future charges from that merchant, though you may still owe the company under its terms.
How do you stop unused subscriptions from coming back?
A 15 minute sweep fixes today's list. A few habits keep it short.
- Set a trial reminder the moment you sign up. Put a calendar alert two days before any free trial ends. On Apple and Google, you can often cancel a trial immediately and still keep access until it expires.
- Use one billing source where you can. Routing app purchases through your phone's app store puts most of them on one screen.
- Repeat the sweep every quarter. A recurring calendar event every three months is enough for most households.
- Check family and shared plans. Family sharing groups can carry plans that another member started. Review them together.
- Consider a virtual card. Some banks and card issuers offer virtual card numbers you can pause or delete, which stops a merchant from charging you without contacting them.
What should you check after cancelling?
Confirmation matters, because a cancellation that did not go through is the most frustrating outcome. Take these steps:
- Look for a confirmation email or an expired status on the app store subscriptions page.
- Note the date access ends, so you are not surprised when a feature stops working.
- Export or download anything you want to keep, such as photos, notes, or project files, before access ends.
- Check your next statement for any charge from the cancelled service. If one appears, contact the company and include your confirmation.
Done once, this routine usually turns up at least one or two forgotten charges. Done every quarter, it keeps your recurring spending matched to the services you actually use.
Frequently asked questions
Written by
Marcus Delacroix-WhitfieldSenior technology and retail analyst, 14 years
Marcus spent 9 years in product and pricing roles at two mid sized e-commerce companies before moving into independent analysis. He has tested more than 300 consumer gadgets and AI tools, and tracks how small businesses actually adopt them, including what they cost per month and where they save time. At Freshmane he writes buying guides and plain language explainers on AI for shoppers and owners of small firms.